
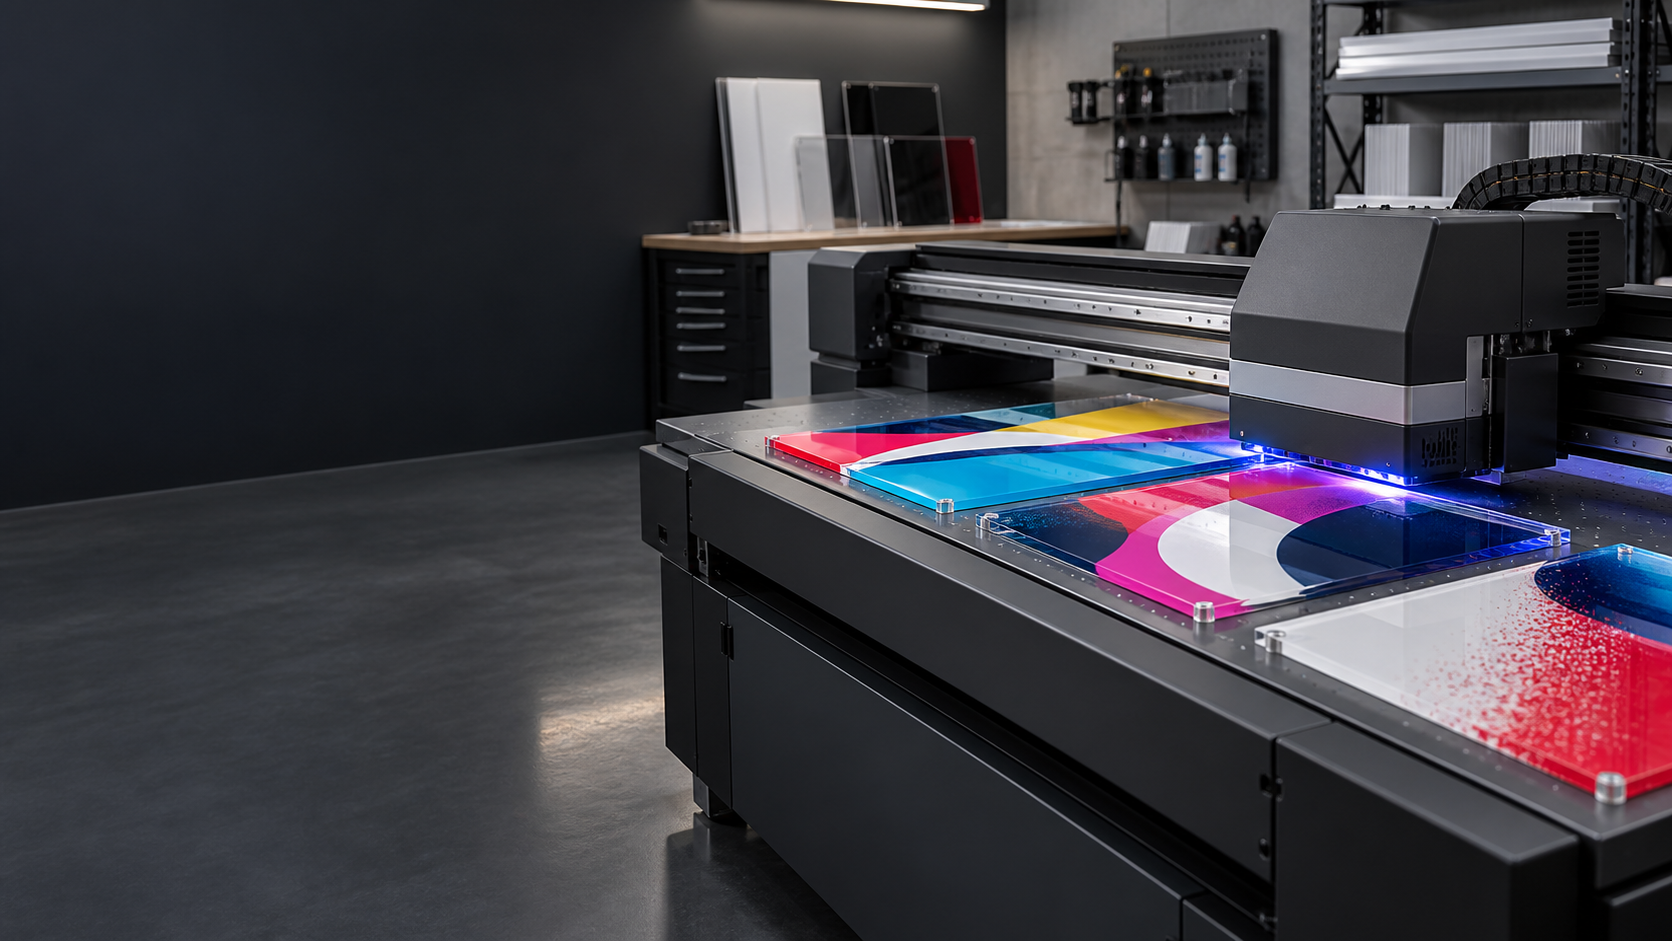
Artwork guide · UV printing
Colour and white layers
Print viewed through the material
Preparing Artwork for UV Printing
How to prepare sized artwork, colour, images, white underbase and changing data for suitable flat items.
Send Your Files Request a Quote
Explanatory artwork illustration
Explanatory artwork illustration
Production-ready artwork
Make the artwork, item and intended result clear.
UV printing places cured colour and white ink onto suitable flat items. Artwork must define the print size, viewing side and any white layer as well as the visible design.
- White Underbase
- Colour Printing
- Finished Print
Finished static diagram.
Understand the process
What Is UV Printing?
UV printing deposits ink directly onto the item and cures it using UV light during printing. It reproduces logos, text, photographs, colour graphics and variable information on suitable flat components. Surface suitability and adhesion are reviewed for the actual item.
Understand the process
How Does a White Underbase Work?
Colour may print directly onto a white substrate. Dark, coloured or transparent items may need a white layer beneath the colour. White gives the image opacity and helps colours retain their intended appearance. Identify where white should be present and where the material should remain visible.
Understand the process
What Is Reverse Printing?
Reverse printing places artwork on the back of a suitable transparent acrylic or glass item so it is viewed through the material. The viewing direction is: transparent material, then colour, then any white backing. Colour artwork is prepared for that viewing direction; confirm the printed side and layer order.
Preferred files
Supply a correctly sized PDF where possible.
PDF is preferred. EPS, AI, TIFF and JPEG can also be useful when appropriate. Embed linked images and graphics so the supplied file is complete, and show artwork at 1:1 scale in its exact print position.
Colour and images
Use CMYK artwork and retain original image quality.
CMYK is preferred for print artwork. Include approved brand references when colour matching matters. For placed images, around 300 ppi at final size is a practical target; do not enlarge a low-resolution source. Convert fixed fonts to outlines unless text is intentionally variable.
White underbase
Identify where white is required.
White can support colour on transparent or coloured items. Production-ready vector artwork may use a spot colour named RDG_WHITE for the white-underbase objects. If that setup is unfamiliar, add a clearly labelled instruction such as “WHITE UNDERBASE REQUIRED HERE”. Selective white beneath raster artwork may need a separate mask or unambiguous written instructions.
Transparent items
State which side is viewed and printed.
For reverse printing through a transparent item, state “PRINT VIEWED THROUGH THE MATERIAL” and identify the print side. Layer order differs from front-surface printing, so the viewing direction must be explicit.
Bleed, adhesion and tests
Let the physical item define the production setup.
Bleed is not universal for direct-to-object work; show the required printed area and GT Laser will confirm whether extra image is needed. Adhesion and appearance vary with the substrate and surface. A sample, test or spare item may be recommended before the main batch.
Variable data
Separate the design from changing content.
For names, numbers, QR codes or other changing fields, supply a stable artwork template and an Excel or CSV table with one row per unique item where practical. Identify quantities and duplicate-copy requirements.
Understand the process
Overlaps, Hidden Objects and Layer Order
Remove accidental duplicate objects, unwanted overlaps and unnecessary clipping masks. Hidden white objects and transparency can alter the printed result even when the screen preview looks correct. Keep intentional overlaps and white shapes clearly identified, and confirm their layer order.
Understand the process
Small Text and Fine Detail
Very small text, thin lines, reversed lettering and fine QR modules may lose clarity. Judge detail at final size and on the actual substrate. There is no universal minimum that works for every surface, ink layer and viewing condition; request a sample where readability matters.
Understand the process
Image Quality at the Finished Size
Supply the original high-resolution artwork. Around 300 ppi at the final print size is a useful preparation target for photographs; it describes the source artwork, not the printer’s output resolution. Enlarging a small web image does not restore detail. For example, a 100 mm-wide image needs roughly 1,181 source pixels to reach 300 ppi.
Before you send
Final artwork checklist
- Artwork is 1:1 and positioned to the actual printable area.
- Linked files are embedded and fixed fonts are outlined.
- CMYK artwork and useful-resolution originals are supplied.
- White-underbase and transparent-item viewing instructions are explicit.
- Item material, dimensions, quantity and any sample availability are stated.
Your artwork does not need to be perfect. Send the best original files and a clear description; GT Laser will identify production issues before undertaking any separately chargeable artwork work.
Practical guidance
Questions about this artwork route
Supply correctly sized artwork in its intended print position, embed linked images, outline fixed fonts and identify colour expectations, print side and any white underbase. A correctly prepared PDF is preferred.
Colour often needs a white underbase on dark, coloured or transparent items. Production-ready vectors may use the spot colour RDG_WHITE, or you can add an unambiguous note such as “WHITE UNDERBASE REQUIRED HERE”.
Yes, as a visual reference, for suitable raster engraving or for print when the image has enough resolution. A JPEG or PNG does not provide a precise vector cut path, so cutting geometry should be supplied separately.
Convert fixed text to outlines or curves where practical. This preserves the intended letter shapes when the original font is unavailable. Text intended to change through variable data should remain identified as a controlled field.
Use Excel or CSV with one row per unique item where practical. Identify the total quantity, duplicate-copy rules, selected ranges, site groups and the human-readable fields that must accompany each code.
A test may be recommended for unfamiliar, coated, customer-supplied or high-value items, when exact appearance matters, or when UV-print adhesion is uncertain. A spare or sample piece may be required.
Ready to share the requirement?
Send the best original artwork available together with the item, material, dimensions, quantity and intended result.